
If you haven’t installed WordPress yet, please return to Step 2 to learn how.
Once you have WordPress installed on your site you are just about ready to start blogging. In this step, I am just going to show you the basics to get you up and running with your new WordPress blog. The next step after this one will show you some more advanced changes you can make to personalize the design and structure of your blog.
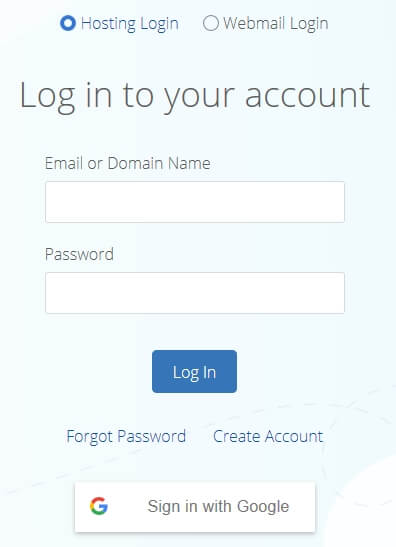
Logging In
Changing Your Blog Title
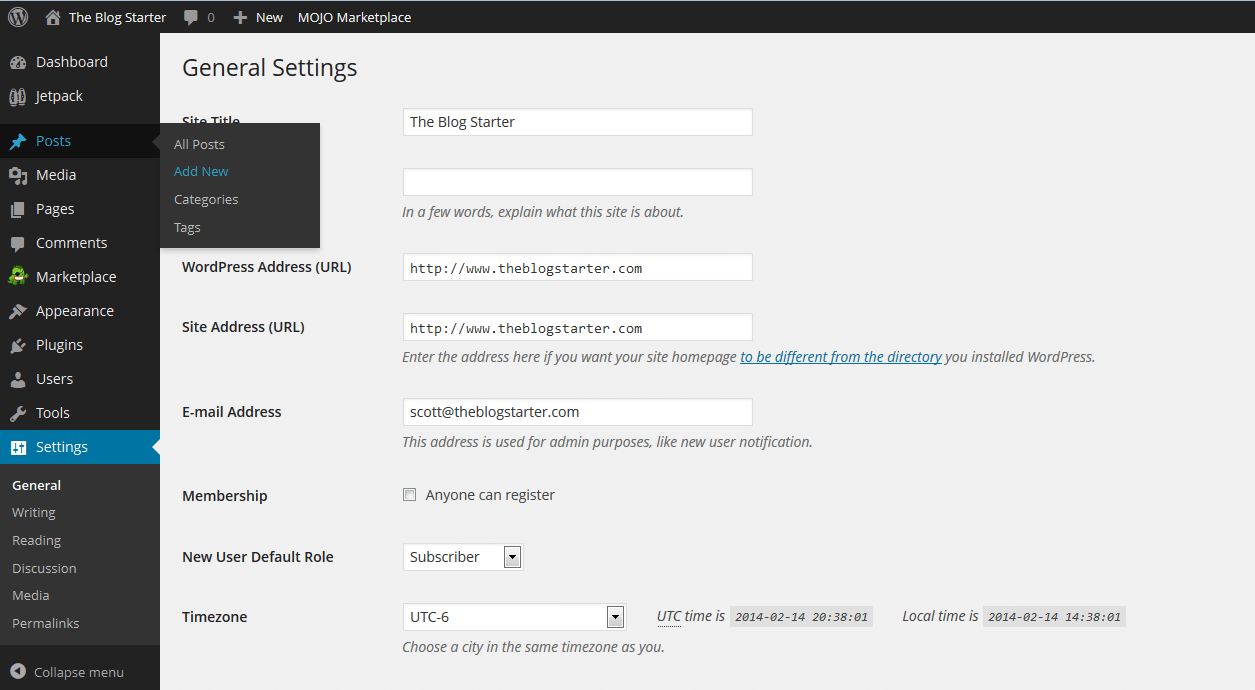
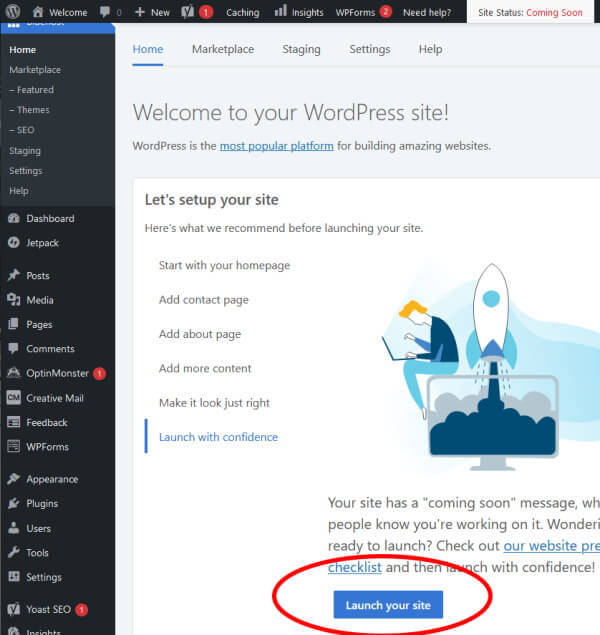
Once you login you can click the blue “WordPress” button to be taken the WordPress blog administrator area. This is where you will make any changes you want to your blog. To start with, you will probably want to change the title of your blog. To do this, go to the bottom of the left menu and click “Settings”. That should take you to this screen:
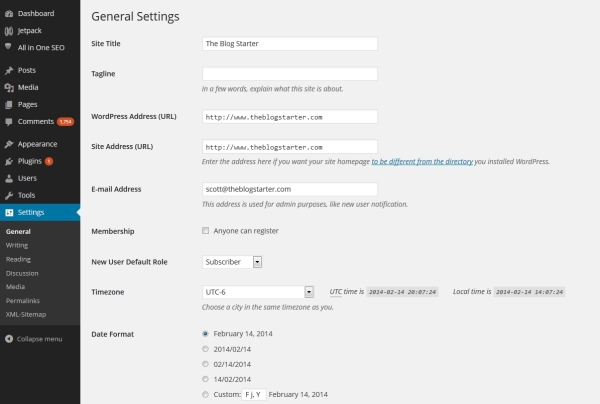
On this screen you can change your “Site Title” and also the subtitle, known as your “Tagline”. Enter whatever you want in these two boxes and then scroll to the bottom and click the “Save Changes” button.
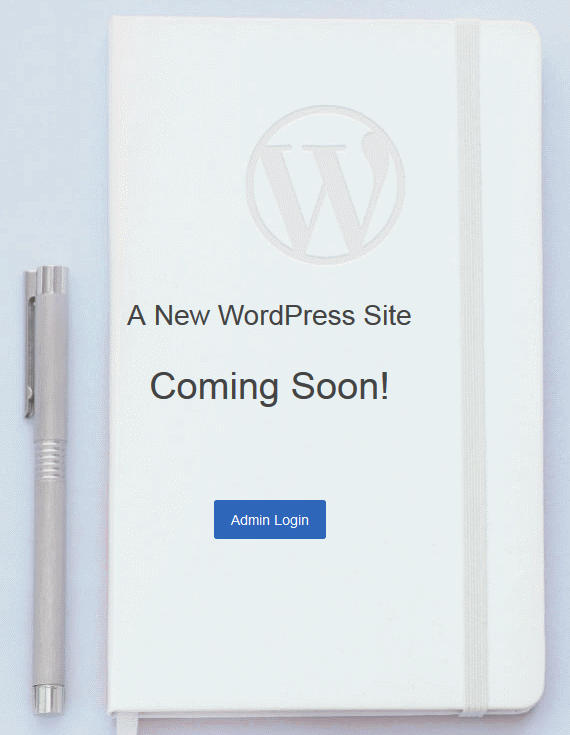
Once you save these changes they will immediately be live on your site. To see what your site looks like at any time you can just type your domain name in the browser and hit enter.
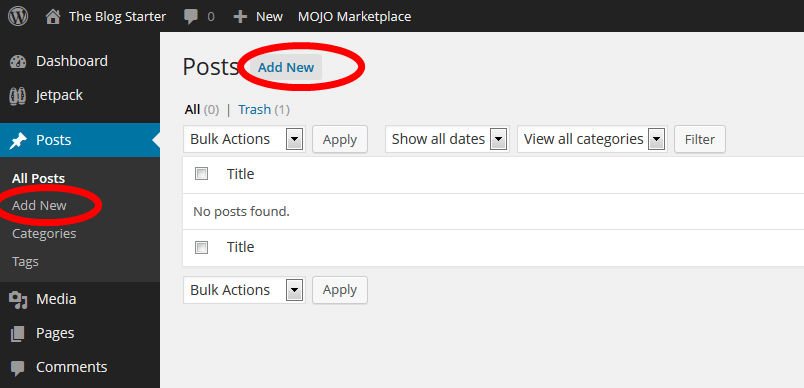
How to Write a Post
Blogging is all about writing, so let’s learn how to write your first blog post.
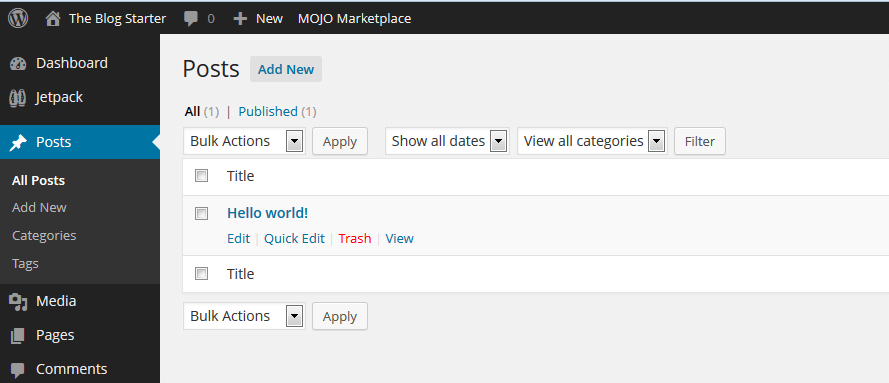
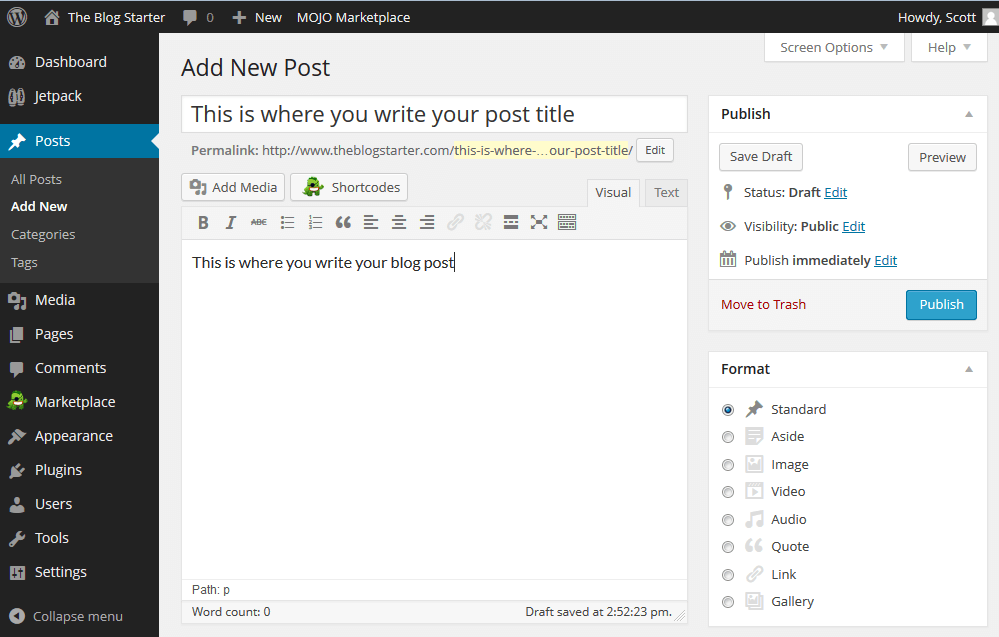
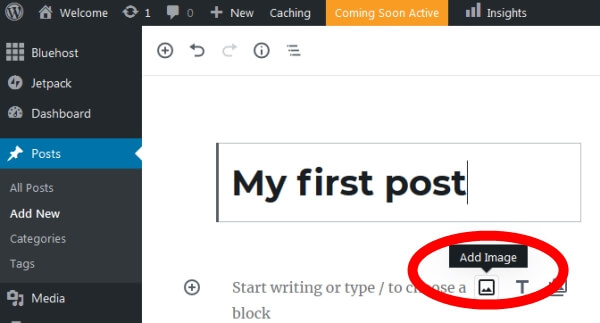
Once you have finished your post just click the “Publish” button on the right side of the screen to publish it.
Publishing Your Blog
What’s next?
Congratulations! You now know how to publish content on your site!
You will probably want to make some more changes to your blog as I describe in the next step, but none of them are absolutely necessary, since your site is already live and ready for the world to see!
تعليقات
إرسال تعليق